
Kriss Vector ART — Assisted Reset Trigger | All Gens & Calibers
FDC members buy at dealer pricing. Join free to unlock the price and add this to your cart.
Try FDC free today Already a member? Sign inDetails
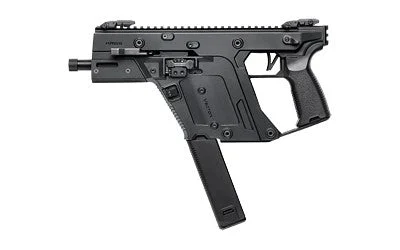
Fits: Kriss Vector Gen 2, Gen 2.1 and Gen 3 in 9mm, .40 S&W, 10mm and .45 ACP.
Gen 1 owners: a Gen 1 Vector needs a Gen 2 trigger pack (KRISS Vector Fire Control Group, Semi) before this can be installed.
Overview
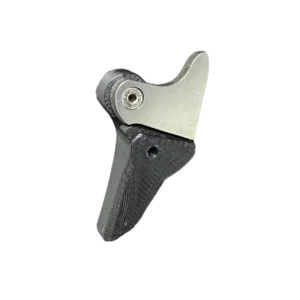
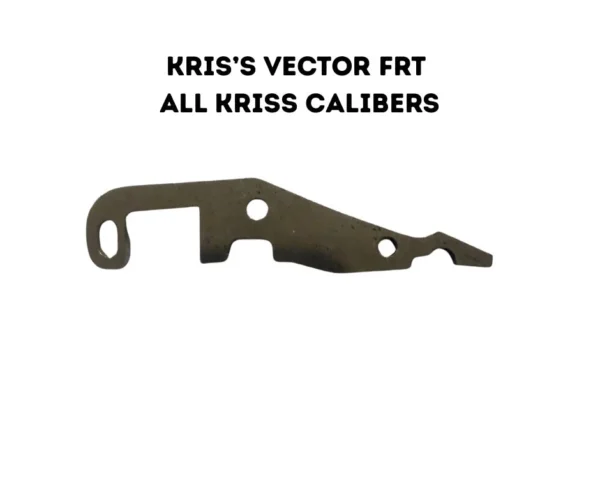
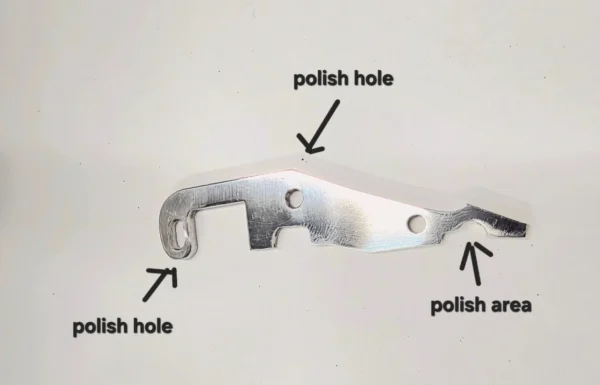
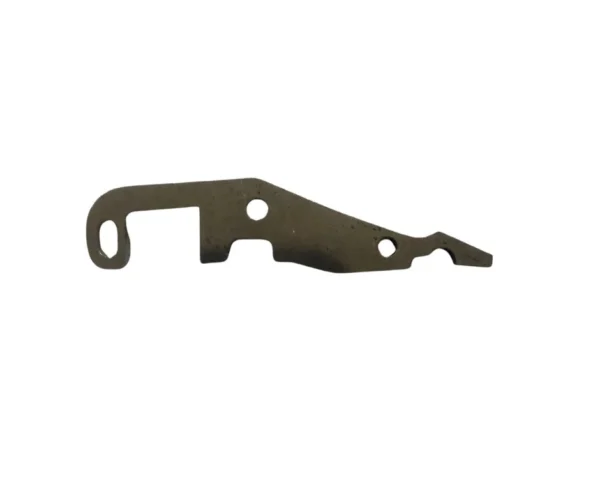
A stainless steel, 2-position drop-in assisted reset trigger for the Kriss Vector. Proper operation requires controlled trigger input.
Disclaimer
- This is an aftermarket component. The user assumes all liability for damage or injury.
- Generous lubrication is required during initial use.
- This is not a permanent modification. Parts will wear and need replacement over time.
- Warranty replacements may be provided upon approval.
- Make sure the firearm is properly broken in before installation.
Break-in and pre-installation
The Kriss Vector needs a break-in period of about 350+ rounds and may have issues before modification. Before installing this trigger:
- Polish the bolt lugs (ears) to a smooth finish.
- Polish the trigger after fitting.
- Polish the action rail guides.
- Clean the firearm thoroughly so it cycles smoothly.
Installation
- Separate the lower and upper receiver halves.
- Remove optics or iron sights.
- Remove the top rail (roll pin and Allen screw for Gen 1).
- Slide the top rail off from stock to muzzle.
- Remove the fire control group screws and take out the assembly.
- Remove the trigger and disconnector.
- Install the assisted reset trigger and do an initial test fit.
- Function check by hand for any hang-ups.
- Remove and polish any contact points causing resistance.
- Reinstall and function check again.
- Work the hammer and trigger by hand to confirm reset.
- Repeat polishing if needed.
- Reassemble the firearm and lubricate (high-temp grease or ATF+4 recommended).
Function check: after assembly, cycle the action by hand and pull the trigger to confirm reset pressure and smooth operation. If there is resistance, repeat the polishing and cleaning steps.
Test fire
- Load 1 round and verify the bolt locks back.
- Load 2 rounds and test cycling.
- Load 3 rounds and confirm reliability.
- Load a full magazine and verify full performance.
If issues come up during testing, go back to the polishing, lubrication and inspection steps.
Laws on assisted reset triggers vary by state and locality and can change. Check the laws where you live before you order. Buyer is responsible for compliance with all applicable laws.
Shipping & Returns
All sales are final; we do not offer refunds or exchanges. Items that arrive damaged or defective are covered under the manufacturer's warranty — contact us within 5 days of delivery and we will help coordinate a claim.
It is the buyer's responsibility to know and follow the laws in their jurisdiction. Orders to restricted destinations will be cancelled.